Reverse Sear: Magic for Perfectly Grilled Steaks
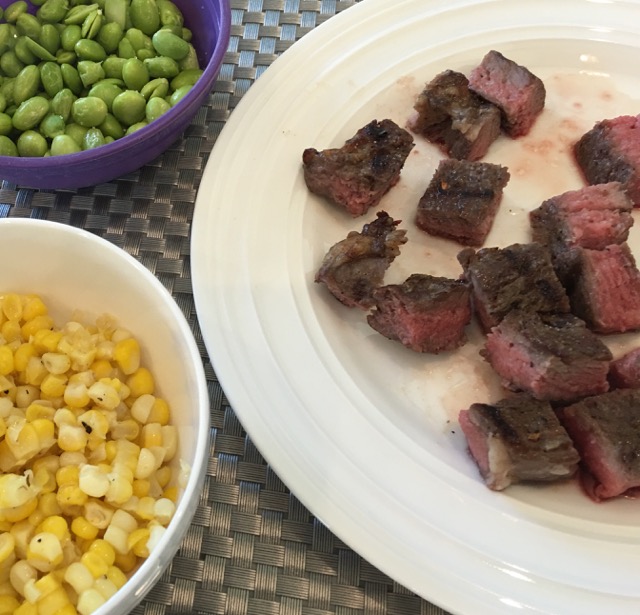
We love to grill. Summertime is fast upon us, and I wanted to share a grilling technique my husband stumbled upon to cook juicy steaks on the bbq. The “reverse sear”method definitely works, and more often than not, our steaks come out perfectly medium rare.
If you google “reverse sear steak” you will find a bunch of good websites describing every aspect of the method. The simple summary is:
- Use “low-and-slow” heat to bring the entire steak up to almost-the-final-temperature
- Sear the top and bottom on really high heat to develop a thin crust
- Let the steak sit for a bit before serving to finish cooking
We like our steak medium rare, with a warm red center and just a little bit of blood (the reverse sear method works for different levels of doneness, but you’ll have to adjust the meat temperatures to your liking). We tend to buy a well marbled rib-eye, but you can do this with any cut of beef. One of the best parts about the reverse sear is that it works equally well on thinner cuts of steak as it does on thicker ones. The biggest downside is that the steaks definitely take longer to make.
My husband’s old approach was to use high heat to sear the top and bottom to “seal in the juices,” then use lower heat to bring the steak up to the right temperature. This ended up being a bit hit-or-miss, and the searing process often created a crust that was overly thick. Especially for thinner cuts, we never quite got a good looking medium rare.
Here’s what he does now (the example I’m using is for fresh rib eyes that were probably less than an inch thick).
- At least an hour before cooking, season both sides of the steak with a generous amount of salt and some black pepper. The salt is important because it breaks down some of the protein in the meat before cooking, allowing some of the fat to be absorbed better. Coarse salt is apparently better, but we’ve not really experimented.
- Heat only half the grill, and even then keep the temperature relatively low. You will have to experiment a bit here, but the lower you can keep the grill the better the process will work (and the slower it will go).
- When you are ready to grill the steak, put the meat on the unheated part of the grill. The goal here is to get your steak indirect heat, not to sear it on hot grates. Close the lid and wait. Ideally you have a probe thermometer, so you can know when to open the lid and flip. It won’t be a problem if you don’t, but the more you open-and-close the lid the more you lose heat and dry out your cut.
- When the center of the steak is up to about 90° in the center, flip it and close the lid. We are trying to get the center to 125° or so before the next step. This is a good time to get the kids rounded up for dinner and the sides going, because the next steps go pretty quickly.
- When the steak is up to 125° (or 10° below the temperature you want to serve it), you are ready to sear it. It takes us about 30 minutes or so from the time we start to be at this point. Sear the top and bottom of the steak on the hot side of the grill for a minute or so per side. You are doing two things: first, you are creating a nice brown crust for the steak, and second, you are giving the cut time to reach 130°. It’s great if you have a sear burner (we do not), so you may have to amp up the heat on that side of the grill before searing.
- Take the steak off the grill and let it sit for a few minutes. We have found that it will cook up another 5° or so, and get to a perfect medium rare temperature of 135° on its own.
Of course, your mileage will vary. My husband has had tremendous success with the reverse sear technique, so give it a try!


